Recording
This guide explains the feature that allows you to record product auto-rotation scenes as video in EVOVA's showroom.
If you want to create a video from your 3D Showroom, please follow the steps below.
Access Path:
EVOVA Admin > [3D Showroom] > Select Product > Click [Advanced] on the left
Recording Procedure
1. Access EVOVA Site and Click [Advanced]
- Go to https://app.evova.ai/ and click on the 3D Showroom list.
- If you don't have an account yet, please sign up and log in.
EVOVA Admin > [3D Showroom] > List > Select Product > Click [Advanced] on the left
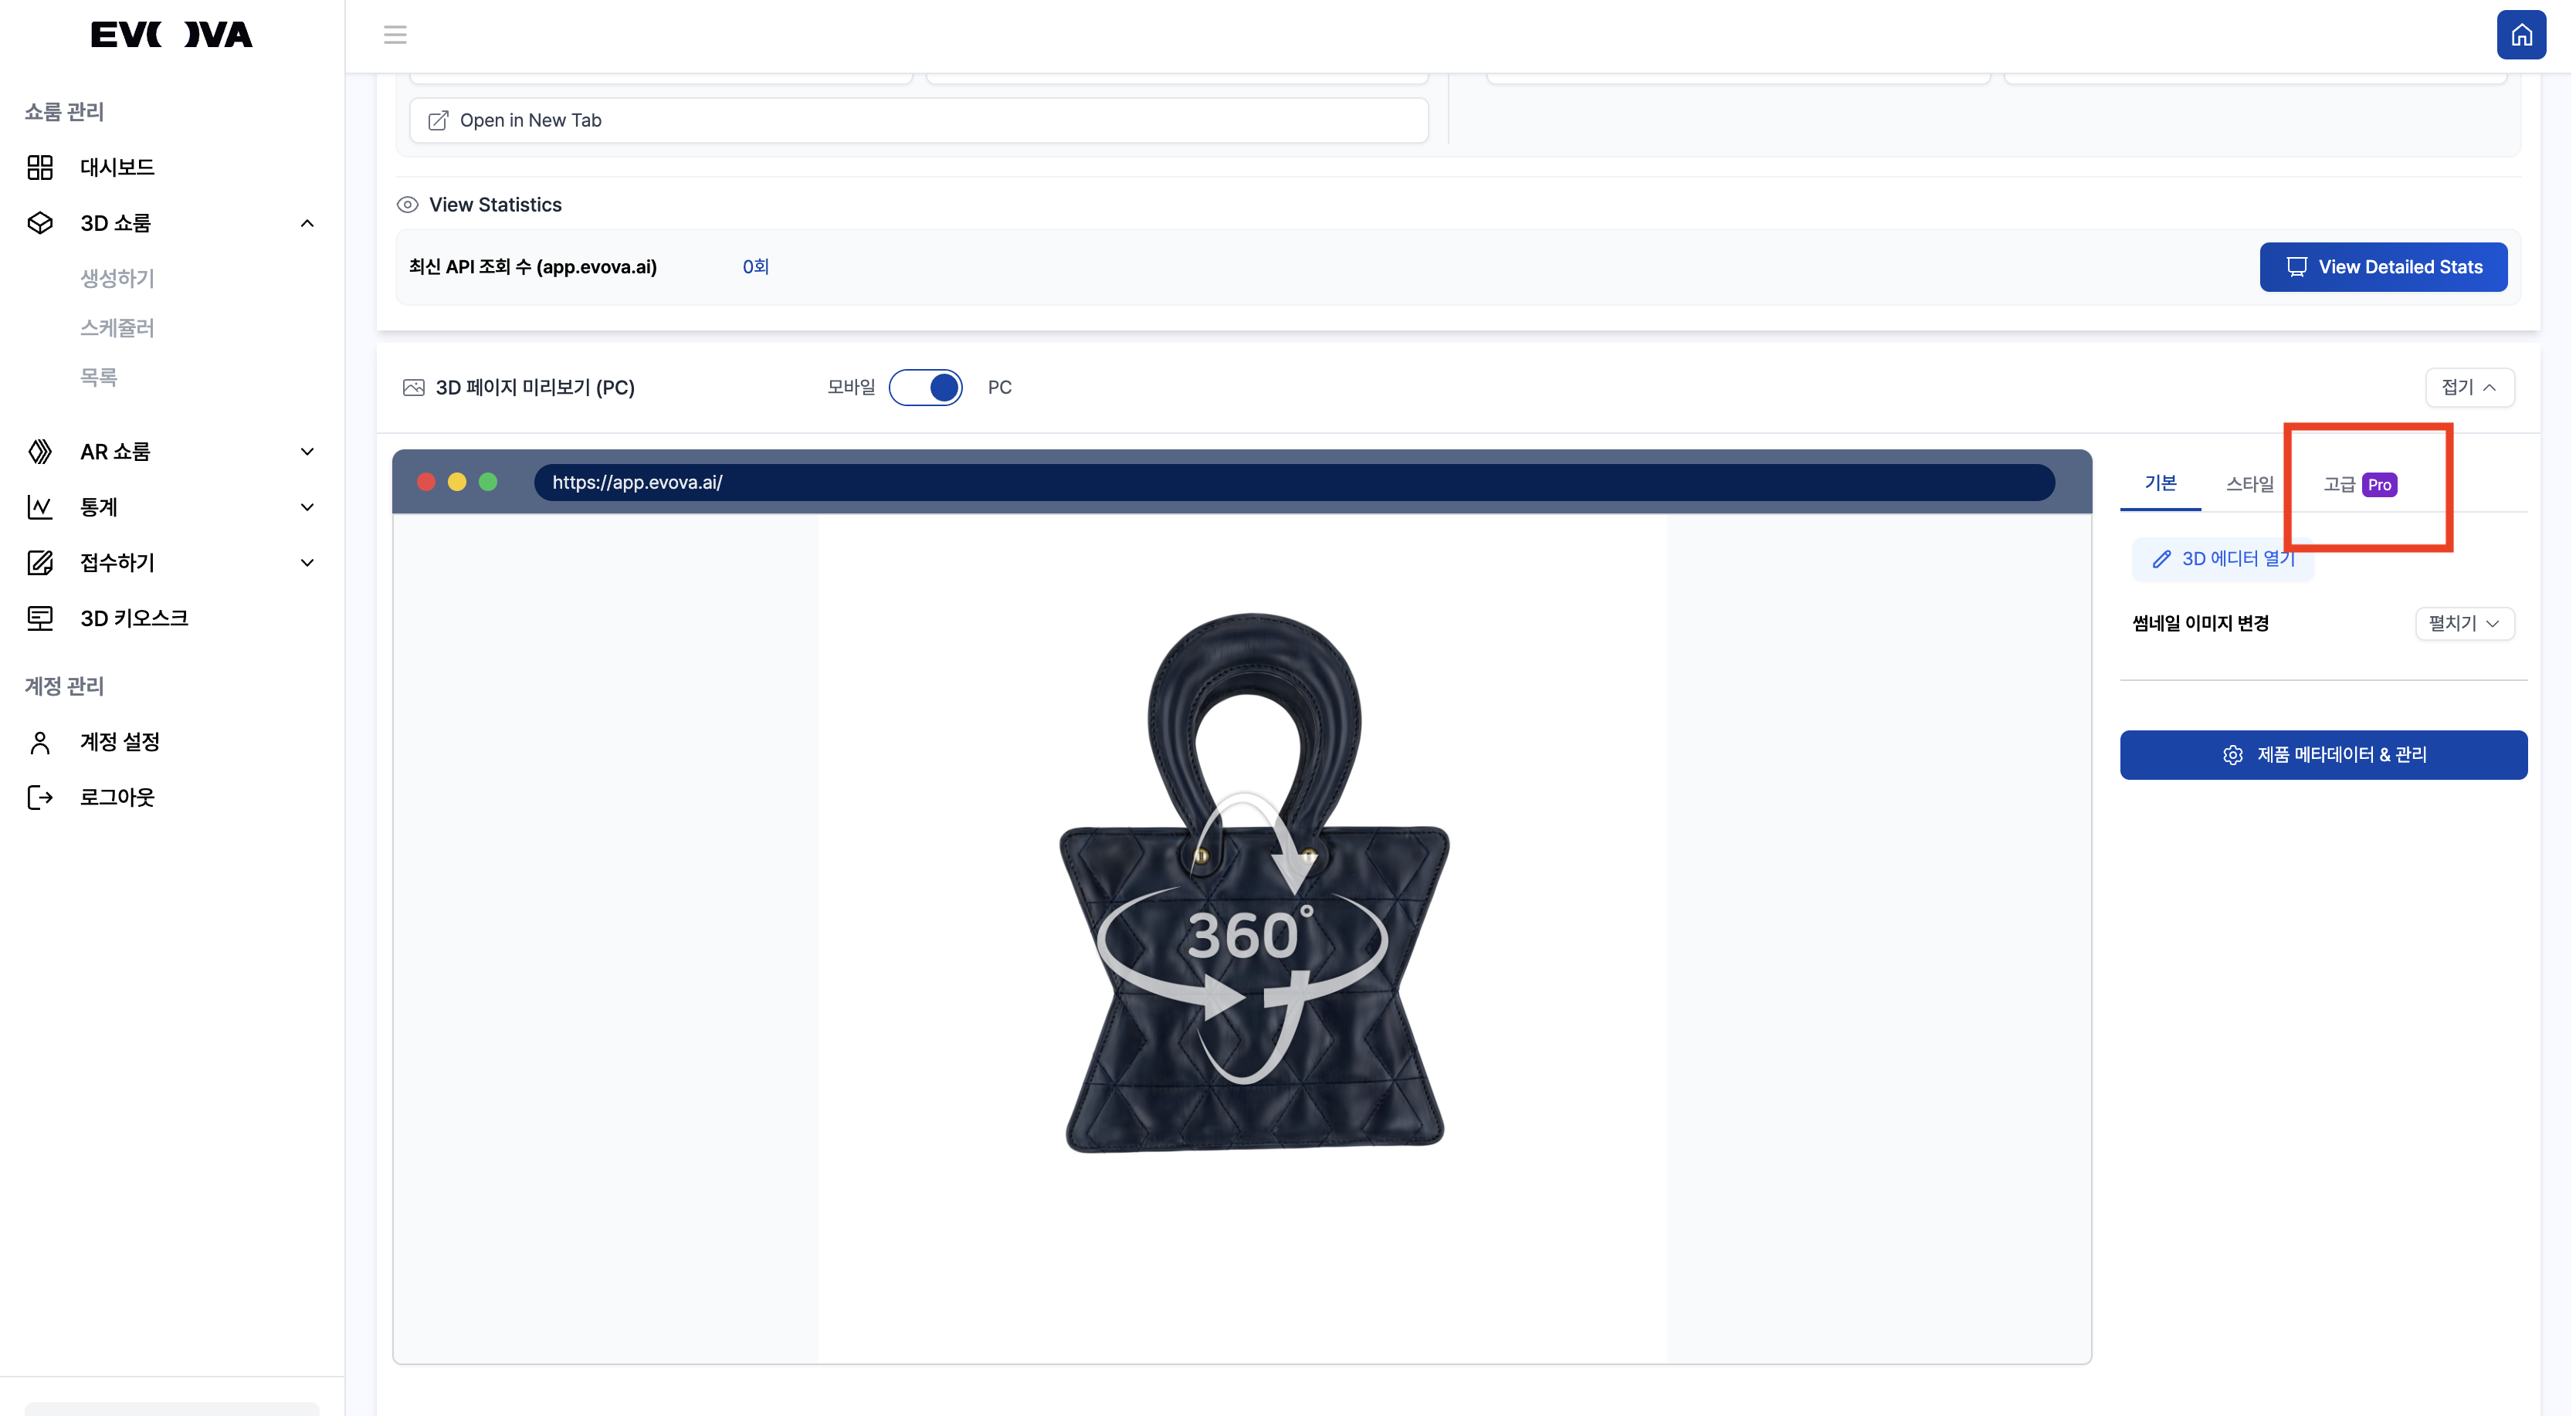 Image 1. Advanced Features
2. Click Video Recording
- Click
ONfor Video Recording in Advanced settings
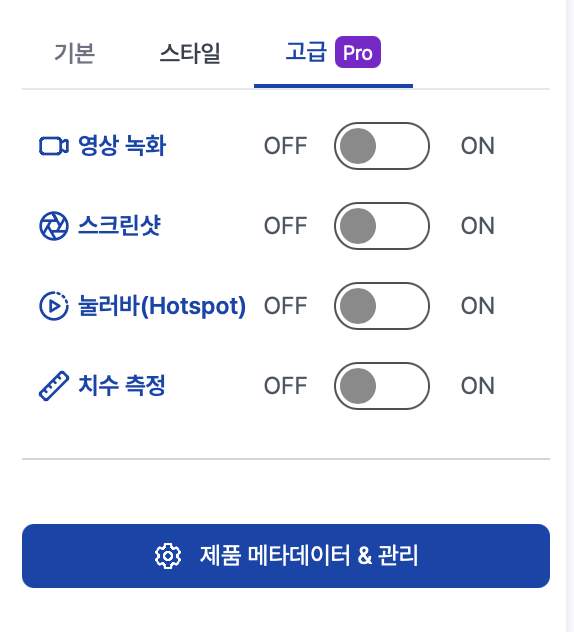 Image 2. Advanced Features - Video Recording
3. Video Recording Settings
- Adjust detailed features in the video recording settings window
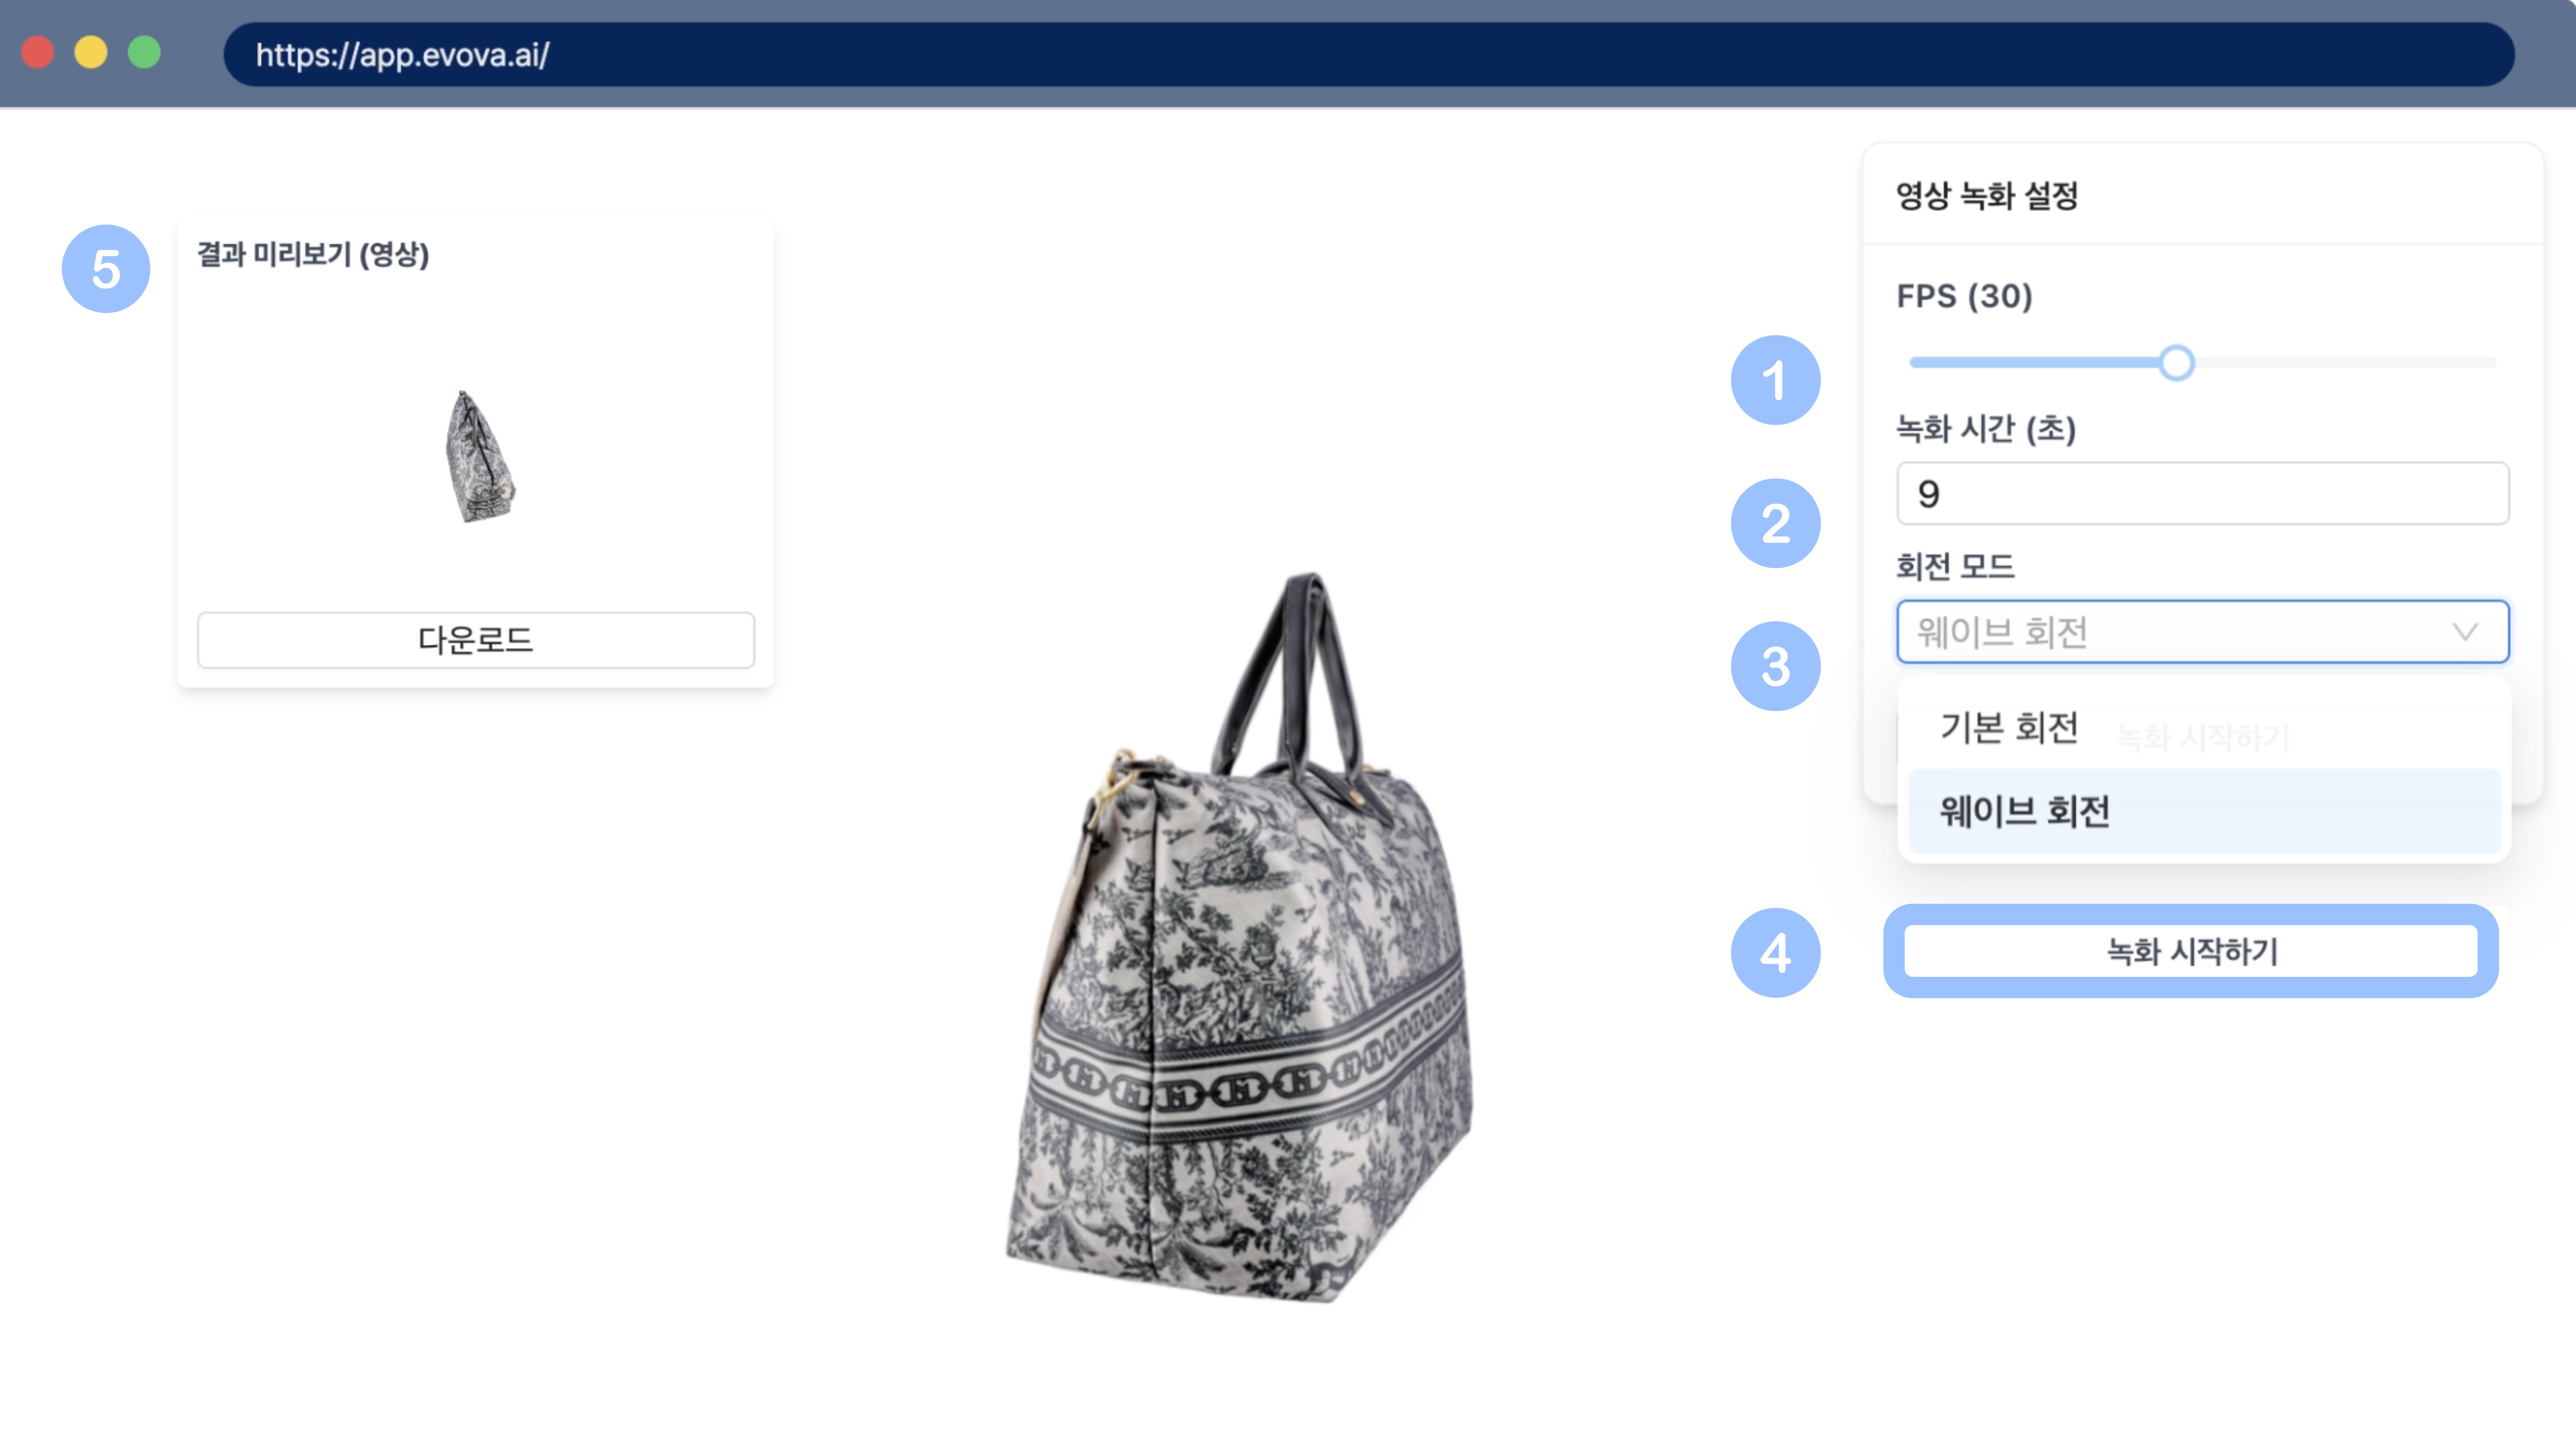 Image 3. Video Recording Settings Window
3-1. FPS (Frame per Second) Settings
- Number of images shown per second
- A value that determines video smoothness, default is 30fps
- Adjustable up to 60fps (higher frame count means smoother video but larger file size)
3-2. Recording Duration Settings
- Time it takes for the product to complete one rotation
- Default is 5 seconds
- Longer duration allows for a more relaxed and stable visual presentation
- Setting it too long may reduce immersion and make it look like a static 2D image, so adjust appropriately
3-3. Rotation Mode
- Two modes available: Basic Rotation / Wave Rotation
- Wave rotation may look awkward on some products, so pre-testing is recommended
Video 1. Basic Rotation Video
Video 2. Wave Rotation Video
4. Record After Settings Complete
- Once settings are complete, adjust the product's position and angle to your desired composition, then click the
[Start Recording]button - The current view will be used as the first frame of the video, so make sure to check beforehand
5. Check Results and Save
- After recording is complete, a preview window appears in the upper left
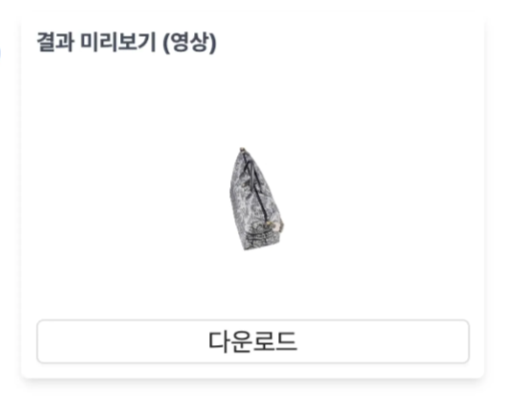 Image 4. Video Recording Preview Window
- Check the results in full screen, and if satisfied, click the
[Download]button to save - You can re-record by changing settings if needed
- When you disable the
Video Recordingfeature after shooting, it automatically returns to the default screen
Closing
If you have any questions, please feel free to contact our support team.
Email: info@metown.co.kr
Phone: 010-6650-6300